Creating a website in 3 simple steps
Tutorials • General | website | sitebuilder | sitepadIn this article we explain every step required to have an online site in just a few minutes
by Mark DohiViews 1633Updated now 1 yearPublished 07/10/2020
Introduction
- Creating a website has never been easier. This article is suitable for people who are just starting out and want an online presence, but do not have advanced knowledge in the field of IT. Whether it's a blog, a restaurant homepage, or a news portal, you'll have everything you need for a modern, optimized website on all devices.
Cerințe
- A Hostico hosting package
- An active domain
Website installation
- As we promised in the title of the article, in just 3 steps we get from a newly purchased service, to an accessible website, which can compete with many sites made by experienced developers.
- For further configuration, both in terms of content and design we will address the next paragraphs
Step 1 - Accessing SiteBuilder (SitePad)
- We will need to access the hosting control panel on which we are going to install the necessary files for our website. This will be done with the e-mail received with the purchase of hosting services (Hosting administration details)

- One of the four addresses of the control panel will have to be accessed in a browser of your choice (recommended Chrome or Firefox), like a normal website. Upon accessing, a page will open allowing you to insert a username and password. This data will also be taken from the aforementioned email, after which we will complete the authentication by pressing Log In

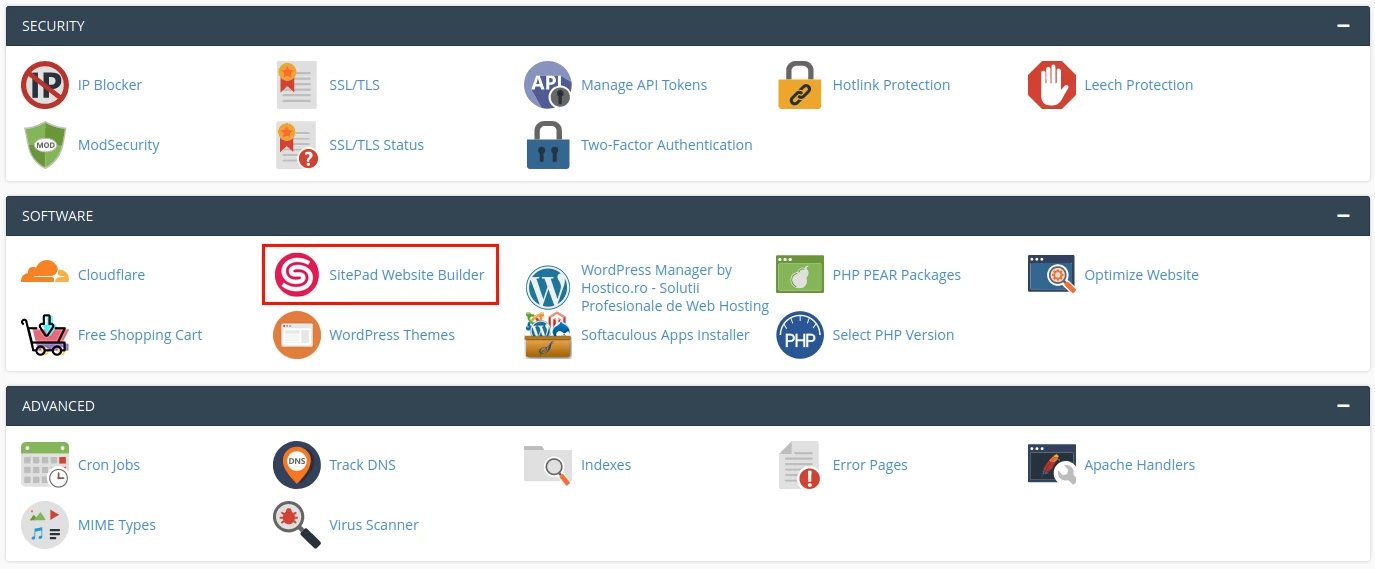
- Once connected to cPanel, we will navigate to the bottom of the page, and access the SitePad Website Builder icon in the Software category
Step 2 - Choosing the Theme
- After accessing the SitePad from cPanel, we will be redirected to the page where it will be possible to install the website. Here, we will access the text created a new site, and immediately on the next page we click on Get Started


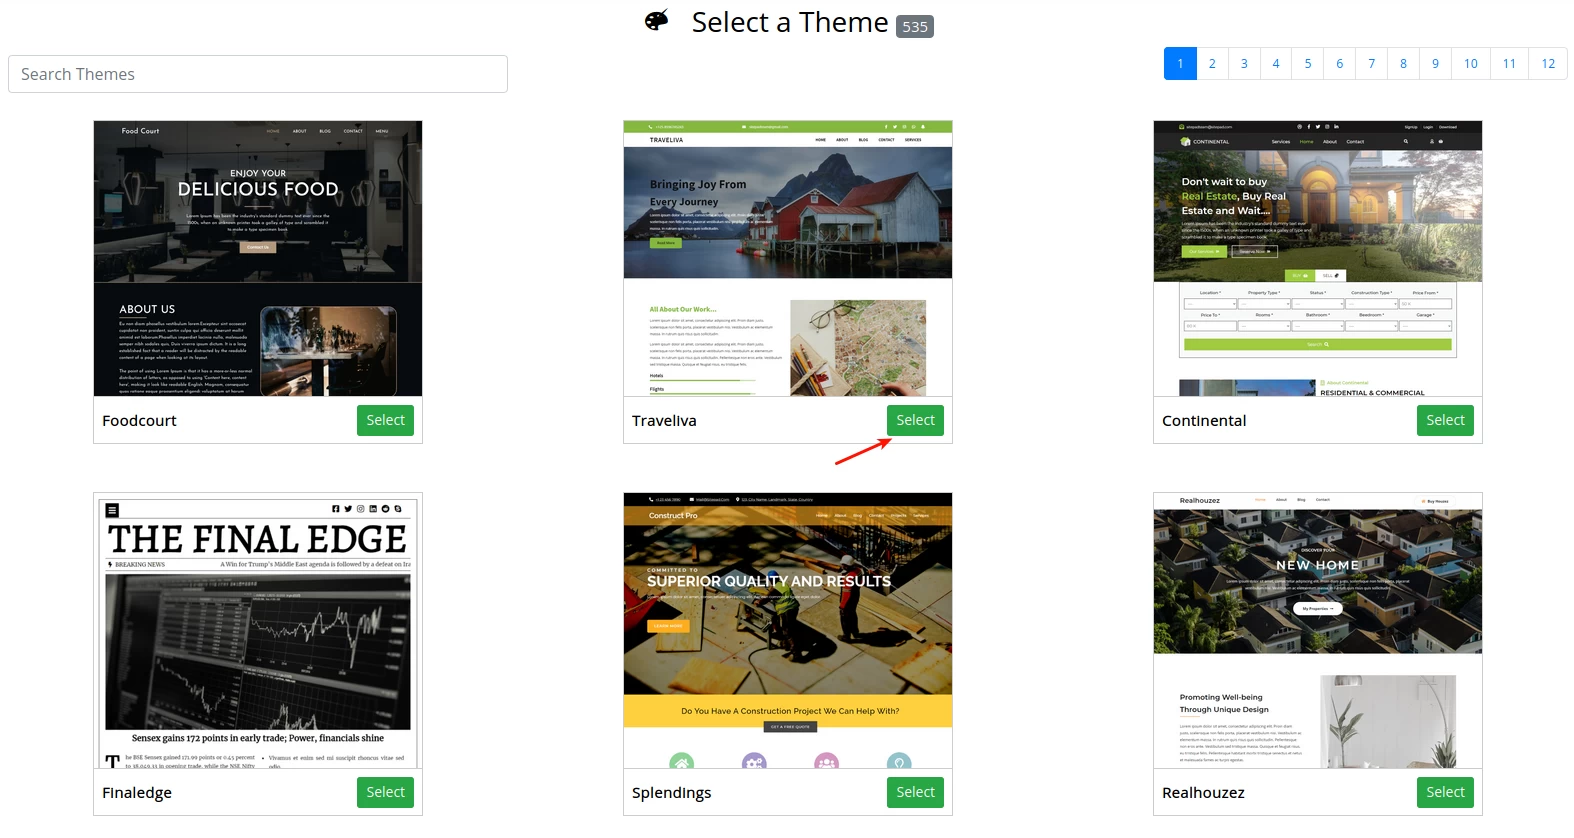
- The "hard" part is coming only now! We will be presented with a catalog that has over 535 graphic themes, from a wide range of fields of activity. To complete this process, we will go to the green button Select
Step 3 - Complete the installation
- The last part consists in completing the details regarding our website, and they are as follows:
1. Site Address - Here you will be able to choose the domain on which we want to install the website, the directory where it will be installed, respectively the security protocols. Our recommendation is that each site be installed with the HTTPS version, and the directory field be left blank (unless you want another folder by default), so each site will be installed in the predefined folder.
2. - This email address will be used for authentication in the SitePad panel. You can use either a public address (gmail, yahoo) or an email address for your site.
3. - Titlul afișat în pagina principală a site-ului. Este irelevant ce trecem, întrucat poate fi modificat ulterior.
4. The title displayed on the main page of the site. It is irrelevant what we enter, as it can be modified later.
5. Site Language - The language in which our website will be displayed after installation.
- On the right side, contact details can optionally be filled in. Once we have made sure that all the data is inserted correctly, we will click on the button Proceed with Install

- If all steps have been followed successfully, we will receive a confirmation message that the site installation has been completed and customization can begin by accessing Click here to login into the site start editing

- At this point, if we access the domain that we installed the site in a browser, we will be greeted by the interface we chose earlier.

Website configuration
- If we have reached this step, it means that we have successfully installed our new website. Even if we think that the work is finished, only now begins the writing and finishing part.
- In the following, we will go over all the aspects that need to be modified to have the final website, and to actually start attracting the set target audience.
Texts
- By default, each theme has lore ipsum text type (standard text used to simulate text boxes and make it easier to evaluate a website's design), they need to be replaced.
- This can be done by simply double-clicking on the text box. Size, color, font, and other design elements can be changed from the right side of the page at the section Edit Title

Images
- There is nothing wrong if we keep the original images, as they do not have special copyrights, but in order not to have the same site with 1,000 other users, it is advisable (if we have quality images) to replace them.
- To do this, hover the mouse over the image you want to replace, and access the blue pencil.

- From here, on the right side we make sure we are on Background Style. If we do not necessarily want to put an image, we can always go for a solid or gradient color, but it is recommended to have images instead of colors.

Buttons
- I think you already understand the idea, any change is very easy to make, and updating the buttons is no exception. As with images, the buttons can be edited with the blue pencil displayed as you move the mouse over the item, or by right-clicking and selecting the Edit Image Box option.

- Again, the menu displayed on the right will help us understand the issues that can be implemented, or removed at will. We will not go through each element separately, as the terms are explicit.

Pages
- Suppose we want to add additional pages at the top of the site that lead to different sections. To add a page just go to Pages and Create New

- From the initial installation there will be several pages with names that most likely will not be applicable to our project and will have to be either modified or removed. These actions will be performed from the settings of that page, which can be found at the top next to the SitePad logo.


- After entering the new page name, or deleting an existing page, we must make sure that we have saved the changes, otherwise when we leave the page, the ones made will not remain.
Widgets
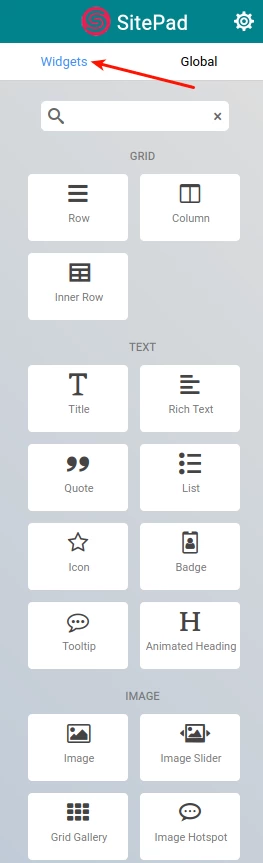
- Over 40 Widgets can be used to customize the page to your liking. Whether we are talking about Google Maps, Calendar, Tables or others, we can easily insert any item with a simple "click and drag". These items can be found again on the right side of the page under the Widgets section
Hyperlinks
- There will certainly be situations in which we want to refer to another page on our site, but not necessarily through a button, but through text. This is done through hyperlinks.
- To add a hyperlink to our text, we will have to select the desired text, then right-click on Edit Rich Text

- From the familiar menu already, we will select the Link icon, and we will insert the link to the page where we want the text to take us. The other two Title and Target fields are also indicated to be filled in for SEO reasons (more information in the next paragraph)

SEO
- A familiar concept, but not understood by many website owners. In short, there are a number of identifiers that delimit our site from other sites on the Internet, and give us an advantage over the competition. The better the optimization of these identifiers, the higher the positioning in search engines, and implicitly the number of visitors will increase.
- For our site, SEO optimization can be done through several methods, but the easiest is through the button provided by Site Builder
![]()
- The more general the terms, the greater the competition, and the chances of your site being among the top searches just by setting these fields will be lower.
- If the terms are more unusual, the positioning will be better, but the number of those looking for these words will be lower. When it comes to SEO optimization, you need to find the right balance.

- If MetaTags are not inserted, they will be allocated automatically, and the chances of them matching your site will be small.
- You have to keep in mind that SEO optimization is a varied spectrum that can involve constant work, and most of the time it is necessary to deepen the concept to have significant results.
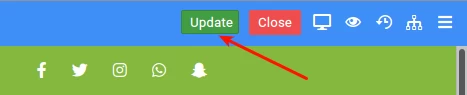
- In order to view the changes made so far, it will be necessary to access the Update button presented above, and to click on Preview. Our site will be loaded with updates from the last session.
![]()
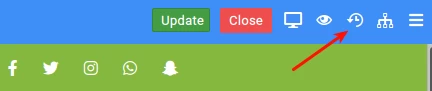
- There is a possibility that you did something wrong at one point, or simply did not like the chosen design, what do we do, start with the site from the beginning? No. All previous versions can be viewed in the History and Revision section, so we are sure that we always have the option to go back to an "older" version.
- I started the article by saying that creating a website "has never been easier" and I want to believe that you consider this too, now that your website has been successfully completed.
There are other aspects to be implemented before the site is a "well done one" but for an initial presence it is a successful start.
Along the way you will become familiar with the site builder, and certain aspects will be better understood and easier to implement.
Note
- This site builder is a third-party program provided by a supplier, and is not developed directly by the Hostico team.
- Installing a site can be done on multiple domains, even if they are added on the same hosting package
- SSL security certificates are automatically generated by cPanel upon installation of the site on hosting and no subsequent manual configuration is required
- The SitePad application is intended primarily for people who are looking for a simple website that does not necessarily require the involvement of a developer
- Site Builder cannot be used for eCommerce websites. For this we recommend other CMS platforms such as Prestashop, Magento, Wordpress + Woocommerce that have been designed specifically for this.
- The application does not come predefined with a database administration interface. All registrations are made directly in PhPMyAdmin, and any new registration or query must be made directly from cPanel
Similar Articles
3
Creating a Hostico customer account.Tutorials • Comercial | customer account creation | account registration community verified icon
In this tutorial you will see the data and steps required to create a Hostico customer account. Community Verified icon
by Mihai BobriucViews 1429Updated now 1 yearPublished 30/06/2017
2
Domain .ro transferTutorials • Domains | registrar | rotld | authorization key | transfer
This tutorial shows the steps required to obtain the authorization key from the ROTLD panel to transfer a .ro domain to a new registrar
by Ana RednicViews 1084Updated now 4 yearsPublished 25/10/2018
Installing an application through cPanel Softaculous pluginTutorials • Softaculous | softaculous | wordpress | install | cpanel | plugin | cms | application
This article will describe the steps you need to install an application through the cPanel Softaculous plugin.
by Ana RednicViews 1053Updated now 1 yearPublished 25/10/2018
Hostico customer account password resetTutorials • Commercial | password | account | reset
In this tutorial you will see the necessary steps to regenerate the password of the Hostico customer account.
by Mihai BobriucViews 825Updated now 1 yearPublished 01/07/2017
cPanel virus scanTutorials • cPanel | cpanel | scan | virus | antivirus
This tutorial explains how to scan files on a hosting account
by Mihai BobriucViews 796Updated now 1 yearPublished 13/07/2022